-
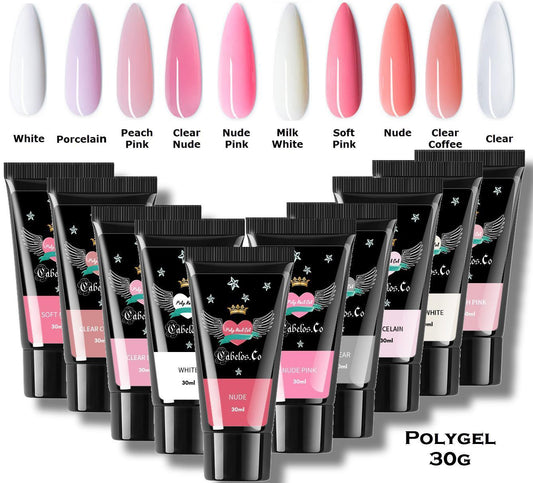
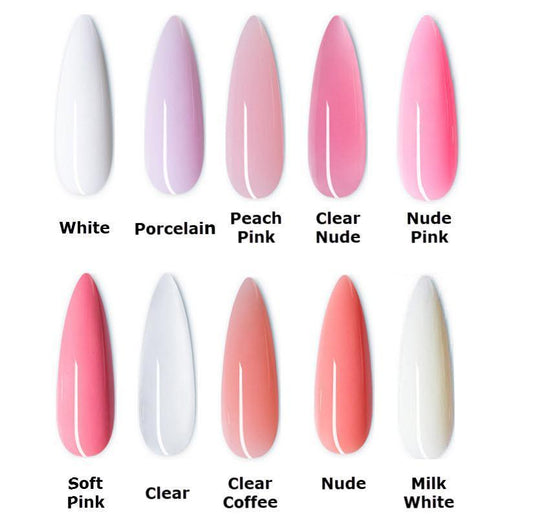
Polygel Nails 30g - Nude
Regular price 99.00 krRegular priceUnit price per199.00 krSale price 99.00 krSale -
Polygel Nails 30g - Nude Pink
Regular price 99.00 krRegular priceUnit price per199.00 krSale price 99.00 krSale -
 Sold out
Polygel Nails 30g - Peach Pink
Regular price 99.00 krRegular priceUnit price per199.00 krSale price 99.00 krSale -
Polygel Nails 30g - White
Regular price 99.00 krRegular priceUnit price per199.00 krSale price 99.00 krSale -
Polygel Nails 30g - Clear
Regular price 99.00 krRegular priceUnit price per199.00 krSale price 99.00 krSale -
Polygel Nails 30g - Milk White
Regular price 99.00 krRegular priceUnit price per199.00 krSale price 99.00 krSale -
Polygel Nails 30g - Clear Nude
Regular price 99.00 krRegular priceUnit price per199.00 krSale price 99.00 krSale -
Polygel Nails 30g - Soft Pink
Regular price 99.00 krRegular priceUnit price per199.00 krSale price 99.00 krSale -
Polygel Nails 30g - Clear Coffee
Regular price 99.00 krRegular priceUnit price per199.00 krSale price 99.00 krSale -
Polygel Nails 30g - Porcelain
Regular price 99.00 krRegular priceUnit price per199.00 krSale price 99.00 krSale -
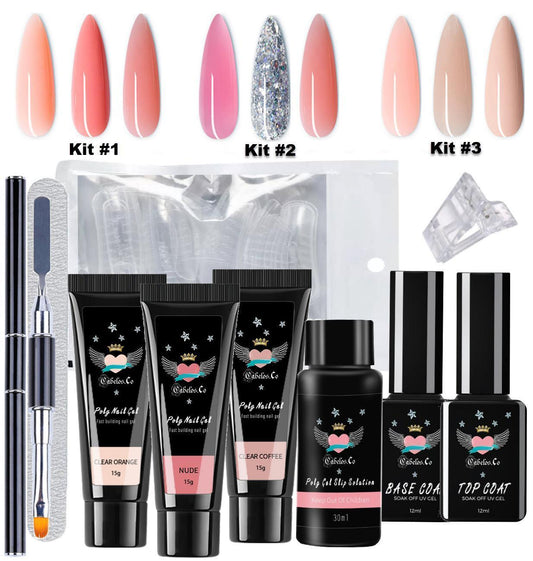
Polygel Nail Kit with UV Lamp
Regular price 299.00 krRegular priceUnit price per -
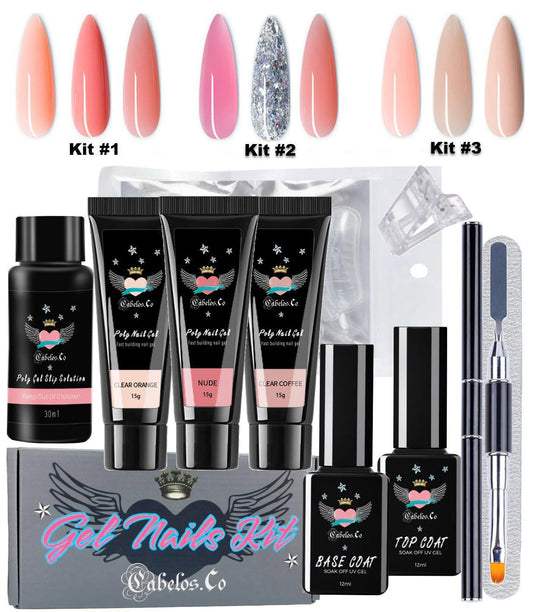
Builder Gel Polygel Kit - #1
Regular price 299.00 krRegular priceUnit price per399.00 krSale price 299.00 krSale -
 Sold out
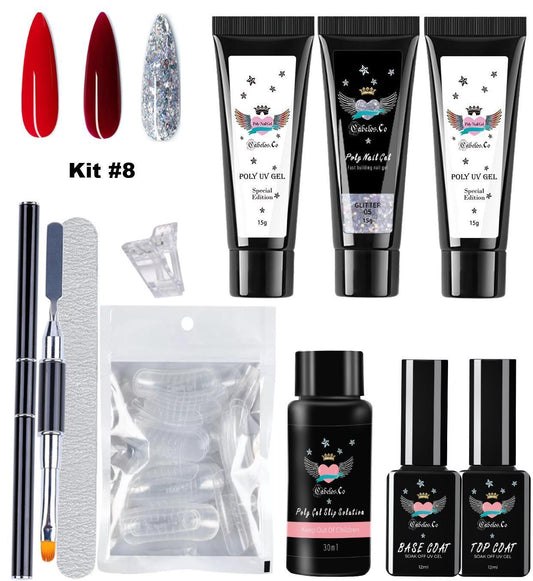
Builder Gel Polygel Kit - #8
Regular price 299.00 krRegular priceUnit price per399.00 krSale price 299.00 krSale -
 Sold out
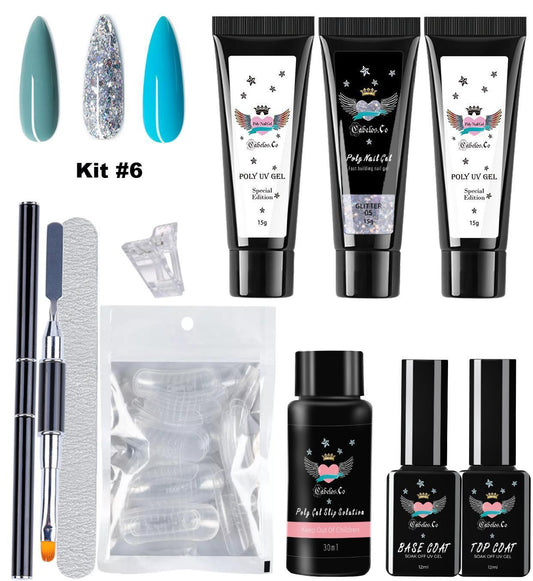
Builder Gel Polygel Kit - #6
Regular price 299.00 krRegular priceUnit price per399.00 krSale price 299.00 krSale -
 Sold out
Builder Gel Polygel Kit - #3
Regular price 299.00 krRegular priceUnit price per399.00 krSale price 299.00 krSale -
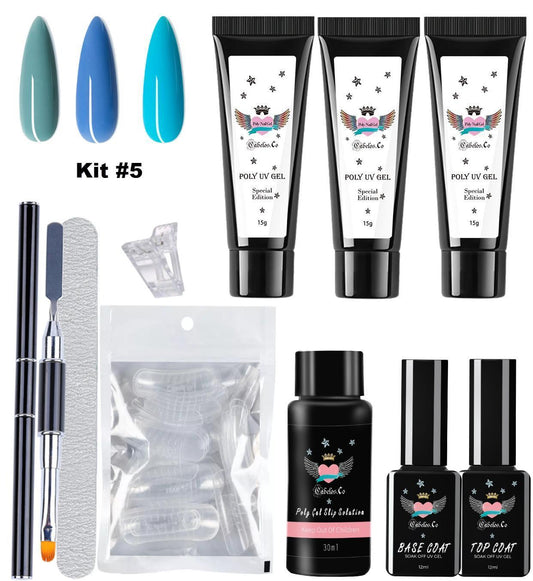
Builder Gel Polygel Kit - #5
Regular price 299.00 krRegular priceUnit price per399.00 krSale price 299.00 krSale -
Sold out
Builder Gel Polygel Kit - #2
Regular price 299.00 krRegular priceUnit price per399.00 krSale price 299.00 krSale -
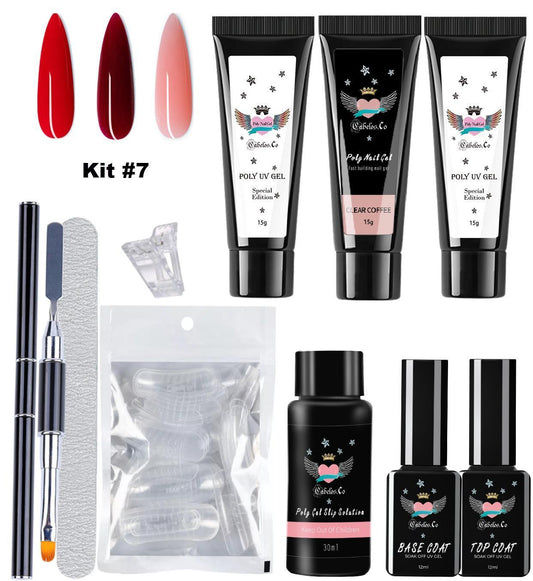
Builder Gel Polygel Kit - #7
Regular price 299.00 krRegular priceUnit price per399.00 krSale price 299.00 krSale -
 Sold out
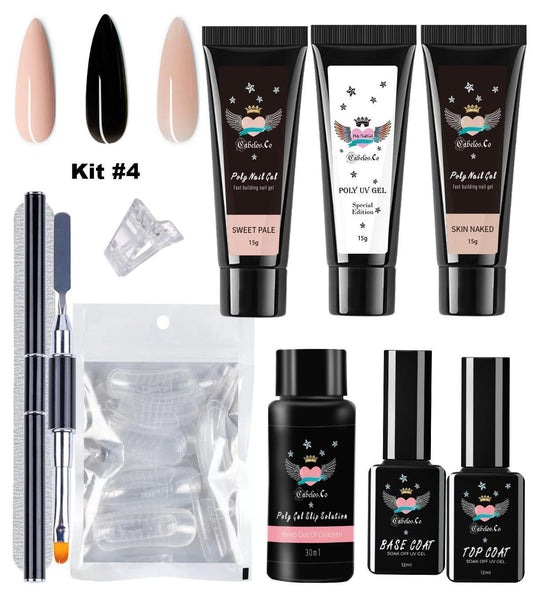
Builder Gel Polygel Kit - #4
Regular price 299.00 krRegular priceUnit price per399.00 krSale price 299.00 krSale


Collection: Natural Nails: Your Guide to Beauty and Elegance
Natural Nails: Your Guide to Beauty and Elegance
Natural Nails colors and condition speak volumes about a person's health and beauty. While trendy colors come and go, there is always a special place for natural nail colors. In this article, we take you through some of the most popular natural colors in our Polygel range and how they can enhance the natural beauty of your nails.
The benefits of Polygel for Natural Nails
Before we get into the colors, let's take a closer look at Polygel. It is a hybrid between acrylic and gel, which means you get the best of both worlds: the durability of acrylic and the flexibility of gel. Polygel is also easy to work with, making it a perfect choice for professionals and amateurs alike.
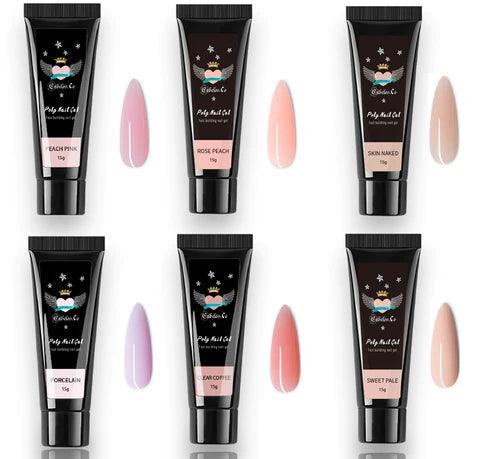
Discover our Best Natural Polygel Nail Colors:

Peach Pink: A delicate light pink shade that reflects youth and freshness. Perfect for those who want a discreet yet feminine look.
Rose Peach: A perfect blend of a delicate rosé wine shade with a soft note of peach. This combination creates a unique color that is both romantic and contemporary.
Skin Neked: As the name suggests, this is a natural skin tone color that blends with your natural nails for a clean and polished look.
Clear Coffee : A transparent brown shade, Clear Coffee is ideal for those who prefer a subtle yet defined color.
Porcelain: This soft, creamy white tone is as delicate as the finest porcelain, providing a clean and fresh look.
Sweet Pale: A pastel pink shade, Sweet Pale is both romantic and feminine, making it ideal for any occasion.
How to apply Polygel for best results:
When choosing one of these colors, it is important that you apply Polygel correctly to ensure a long-lasting result. Here are some quick tips:
- Preparation: Start by cleaning your hands and nails thoroughly. Remove any old nail polish.
- Push Cuticles: Gently push cuticles back with a cuticle stick.
- File the nail surface: Use a nail file to create a slightly rougher surface on your natural nails. This helps the polygel adhere better.
- Use Base Coat: Apply a thin layer of Base Coat and cure in UV Nail Lamp. Follow the instructions for your specific lamp regarding timing.
- Choose the right shape: Choose a suitable Dual Form that fits each nail.
- Apply Polygel: Apply the Polygel to the inside of the mold. Use the spatula to pick up the Polygel and place it on the template or tip.
- Mold the Polygel: Use Slip Solution to mold the Polygel evenly over the template or tip.
- Attach to the nail: When you are happy with the shape, place the template or tip on your natural nail and press gently to adhere.
- Curing in a UV Nail Lamp: Place your nails in a UV Nail Lamp to cure the Polygel.
- Follow the instructions for your specific lamp regarding timing.
- Shaping and filing: After curing, remove the template if you used one, then file the nail to the desired shape and length.
- Finish with Top Coat: Apply a layer of top coat to give a shiny finish and protect the Polygel. Cure again in UV nail lamp. Follow the instructions for your specific lamp regarding timing.
- Clean the nail surface: If there is a sticky film on the nails after curing, remove any sticky residue with Alcohol or Slip Solution.
NOTE: Make sure none of the products end up on the cuticle, remove everything quickly if this happens.